worrying about my husband’s health and prognosis as he was recently diagnosed with squamous cell cancer (new post in my Ponderings of My Predicaments series to come soon about that…).
Busy day for me 🙂 I went to visit my mom, did a little shopping, came home and worked on laundry, now I’m on my laptop getting some online work done 😉
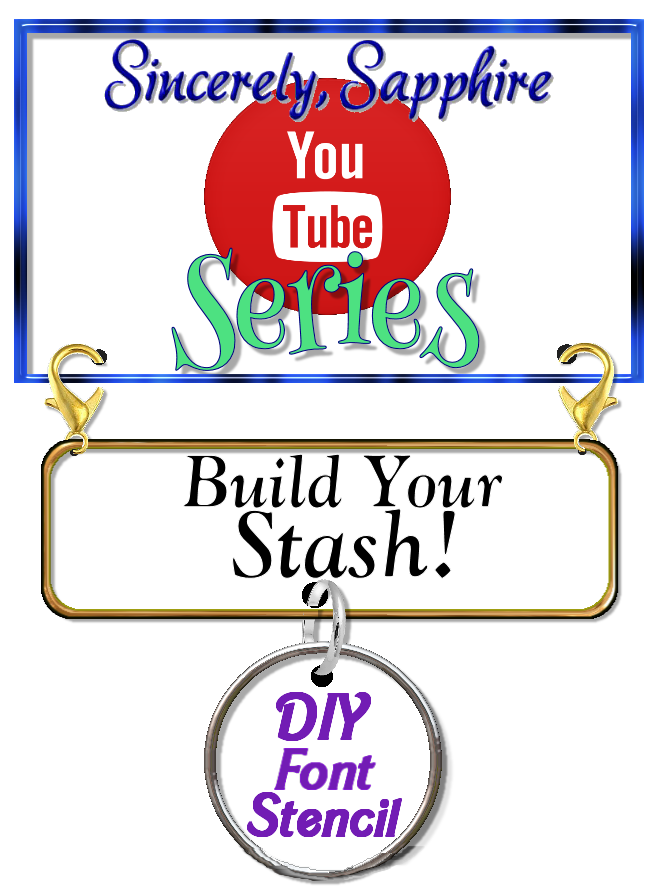
I hope you enjoy learning how you can make your own stencils and save money building your stash! 🙂
This week is how to make your own stencils from your favorite fonts.
Around the same time I made my DIY alcohol inks, I also made my own DIY glimmer mist. It’s along the same method, but you add a clear glue to the bottle as well. It adds a nice shimmer, glittery sparkle to your work, and who can’t use a little more sparkle in their lives? 🙂 It’s just the same 2-ounce spray bottles as in the alcohol ink video, alcohol, any clear-drying glue, and any loose eye shadow (I used LA Colors from Dollar Tree, but I just found a great assortment of it on Amazon for a great price here!)
Supplies I used:
(these are affilate links and any time you click on an affiliate link I provide in my post, I get a tiny commission at no cost to you)
So in the midst of all the family drama, I’ve been keeping my mind occupied in my newly-put together craft room. I decided to get busy on my YouTube channel and be of use to the Kingdom 🙂 There are so many great ideas for Christian art journaling and Bible journaling and I know a lot of you are struggling to keep on top of it all due to all the expensive supplies!
I decided to start this series on my YouTube channel and my blogs to help us all learn to make so many of our own supplies! That also helps us to be better stewards of the money the Lord gave us to care for ourselves, our families, and His Kingdom!
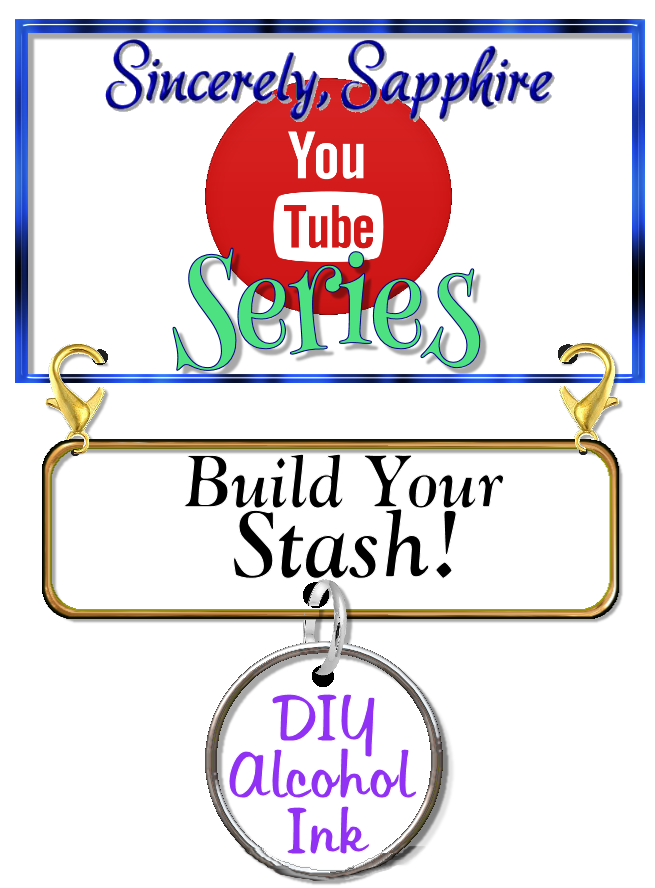
This very first installment is how to make your own alcohol inks 🙂 I got the markers at Dollar Tree, the alcohol I had on hand, and I got new 2-oz. spray bottles on Amazon. I’ll post the affiliate link under the video link here. (Of course, anytime you click on an affiliate link I get a little kickback myself at no additional cost to you).
Why pay big bucks for the expensive kind available at craft stores and hobby shops when you can create your own and save money?
These markers were a dollar a pack, but you can also use a 40% off coupon usually available at most craft stores and buy a pack of Sharpie markers too (make sure they are the markers, not the pens).
Please leave a comment so I can see if you made yours!
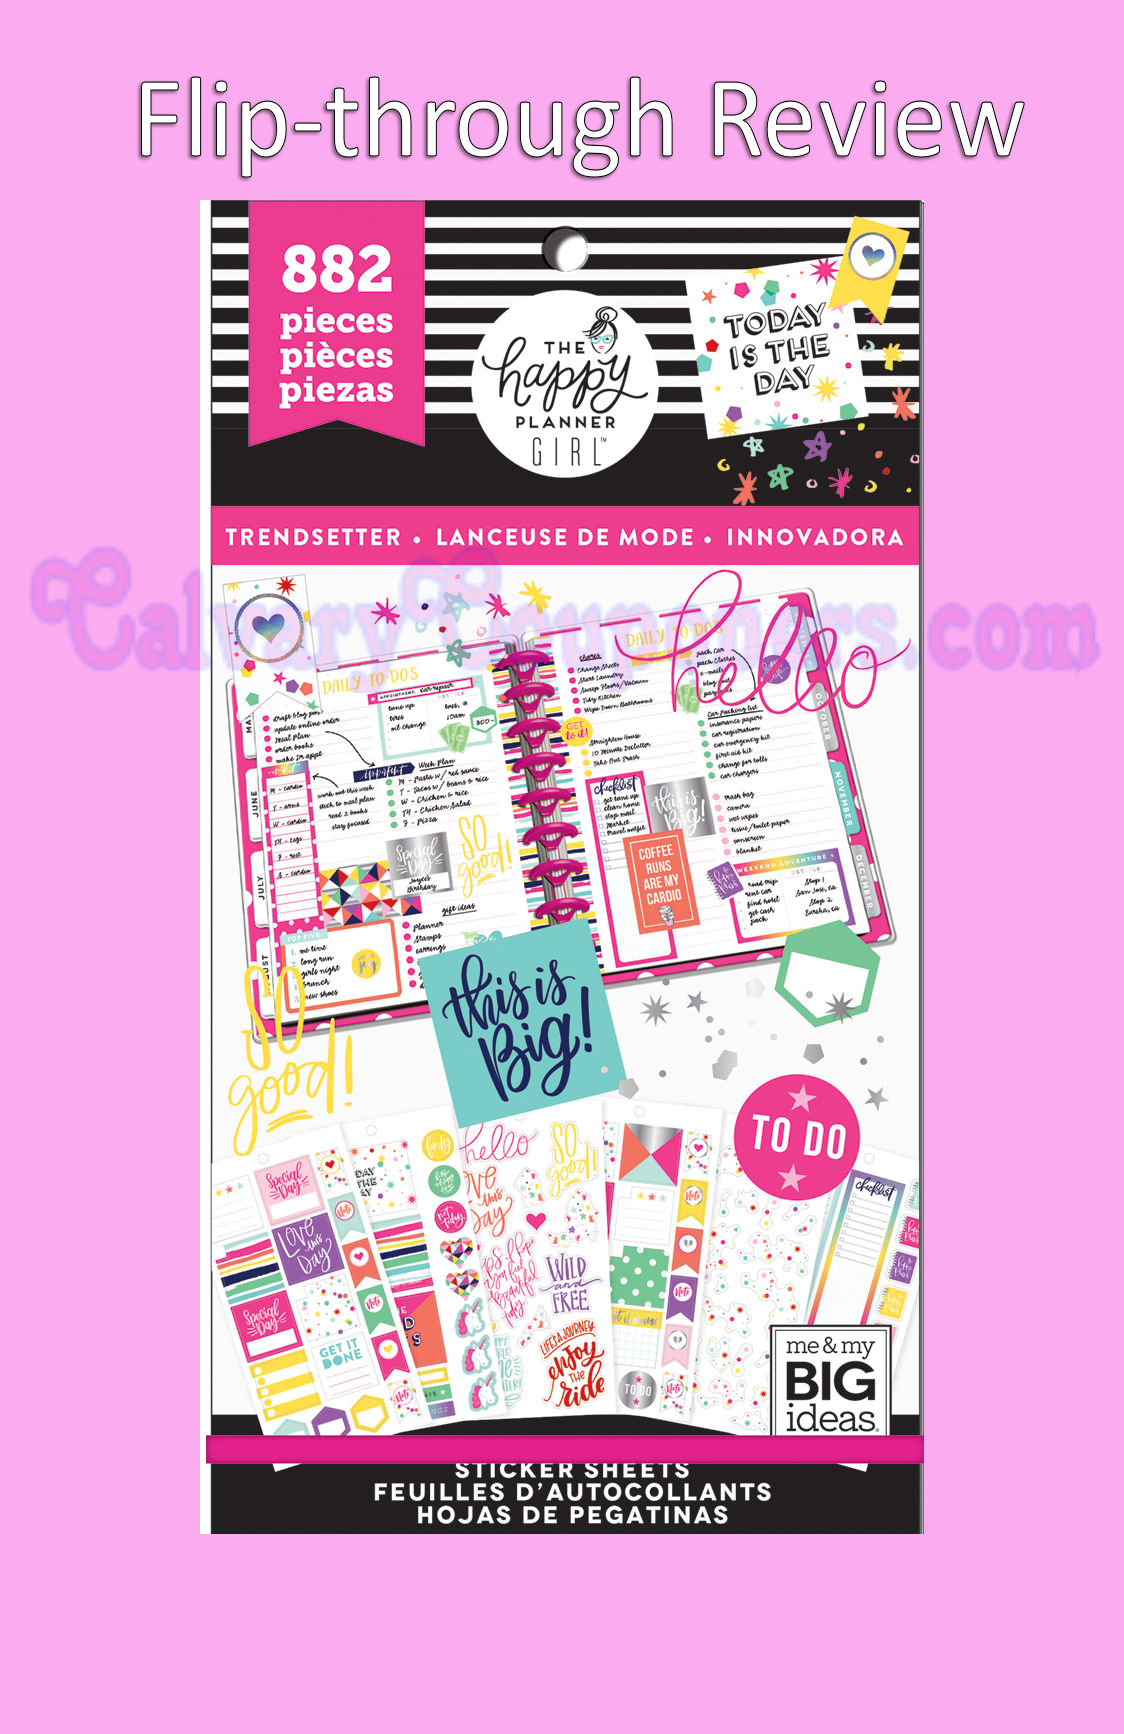
I bought this a few weeks ago and fell in love with the new Happy Girl line from Me and My Big Ideas. I thought you may enjoy seeing a flip through review of the Trendsetter line of the big sticker pack I picked up.
Please remember that I’m new to producing videos and still learning, so these will improve, I promise 🙂 I’m getting a new set of lights for this very purpose for Christmas.
I’d really appreciate a thumbs up and if you like these videos, please consider subscribing to my channel. Thanks!
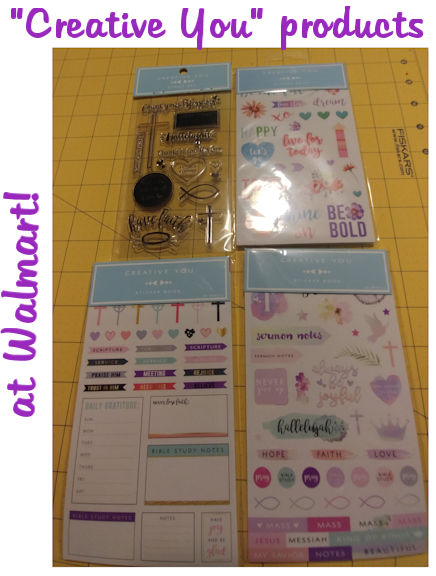
I’ve been telling my Facebook group that I would make a flip-through video of the new “Creative You” planner/journaling products available at Walmart. I finally did the video today!
The price on this line is great! Each sticker pack I reviewed in the video below was less than $3. (I think the stamp set was around the same price, but don’t remember for sure).
Please overlook my lightly issue in this video. The best lighting in our house is in the kitchen by the sliding glass door and my husband and son were home, so not the best time to shoot a video in the kitchen. I did this in my craft room with the normal lighting and an Ott-Lite that’s great for working on crafts and sewing up close, but not so great for shooting videos 🙂
If you want to see just a close-up of the stickers and stamps with less chat, fast forward to the 19:25 mark.
Also, please give me a thumbs up and consider subscribing to my channel. I’m pretty new to my own channel on YouTube and am improving all the time. Enjoy! —>
Cookie Law
This website uses cookies to improve your experience and so that we can provide you with the best user experience possible. Cookie information is stored in your browser and performs functions such as recognizing you when you return to the website and helping us to understand which sections of the website you find most interesting and useful. We'll assume you're ok with this, but you can opt-out if you wish.AcceptRead More
Privacy & Cookies Policy
Privacy Overview
This website uses cookies to improve your experience while you navigate through the website. Out of these, the cookies that are categorized as necessary are stored on your browser as they are essential for the working of basic functionalities of the website. We also use third-party cookies that help us analyze and understand how you use this website. These cookies will be stored in your browser only with your consent. You also have the option to opt-out of these cookies. But opting out of some of these cookies may affect your browsing experience.
Necessary cookies are absolutely essential for the website to function properly. This category only includes cookies that ensures basic functionalities and security features of the website. These cookies do not store any personal information.
Any cookies that may not be particularly necessary for the website to function and is used specifically to collect user personal data via analytics, ads, other embedded contents are termed as non-necessary cookies. It is mandatory to procure user consent prior to running these cookies on your website.